
Details
BUY DS1305 https://www.utsource.net/itm/p/12612082.html
| Parameter | Description | Value |
|---|---|---|
| Operating Voltage | Supply voltage range for VCC | 2.2V to 5.5V |
| Standby Current | Current consumption in standby mode | 150nA (typ) |
| Operating Current | Current consumption during operation | 250nA (typ) |
| Temperature Range | Operating temperature range | -40°C to +85°C |
| Clock Accuracy | Maximum clock drift at 25°C | ±2 minutes/month |
| RTC Output Frequency | Real-time clock output frequency | 1Hz |
| RAM Size | Size of non-volatile RAM | 56 bytes |
| Write Cycle Time | Time required to write data to RAM | 5ms (max) |
| Read Cycle Time | Time required to read data from RAM | 5ms (max) |
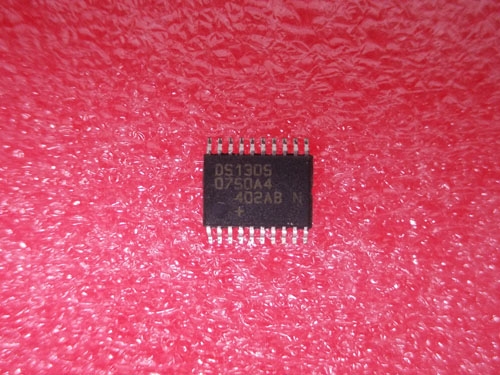
| Package Type | Available package types | SOIC-16 |
Instructions for Using DS1305
Power Supply:
- Connect the VCC pin to a power supply within the range of 2.2V to 5.5V.
- Connect the GND pin to the ground.
Clock Initialization:
- Use the I2C interface to initialize the real-time clock (RTC).
- Set the time and date registers according to your requirements.
Reading Time and Date:
- Access the RTC registers via the I2C interface to read the current time and date.
- The time is stored in BCD (Binary-Coded Decimal) format.
Writing to Non-Volatile RAM:
- Use the I2C interface to write data to the 56-byte non-volatile RAM.
- Ensure that the write cycle time of 5ms is observed to prevent data corruption.
Reading from Non-Volatile RAM:
- Access the RAM registers via the I2C interface to read stored data.
- The read cycle time is also 5ms.
Standby Mode:
- To reduce power consumption, place the device in standby mode by setting the appropriate register bit.
- In standby mode, the current consumption is reduced to 150nA.
Temperature Compensation:
- For optimal accuracy, consider implementing temperature compensation in software, as the clock accuracy can vary with temperature.
Interrupts:
- Configure the interrupt pins (INT/SQW) to generate interrupts based on specific events such as alarms or periodic signals.
Reset:
- The device can be reset by pulling the RST pin low. This will reset the internal registers to their default values.
Handling:
- Handle the device with care to avoid damage from electrostatic discharge (ESD).
For detailed register maps and more advanced configurations, refer to the DS1305 datasheet provided by Maxim Integrated.
(For reference only)View more about DS1305 on main site